


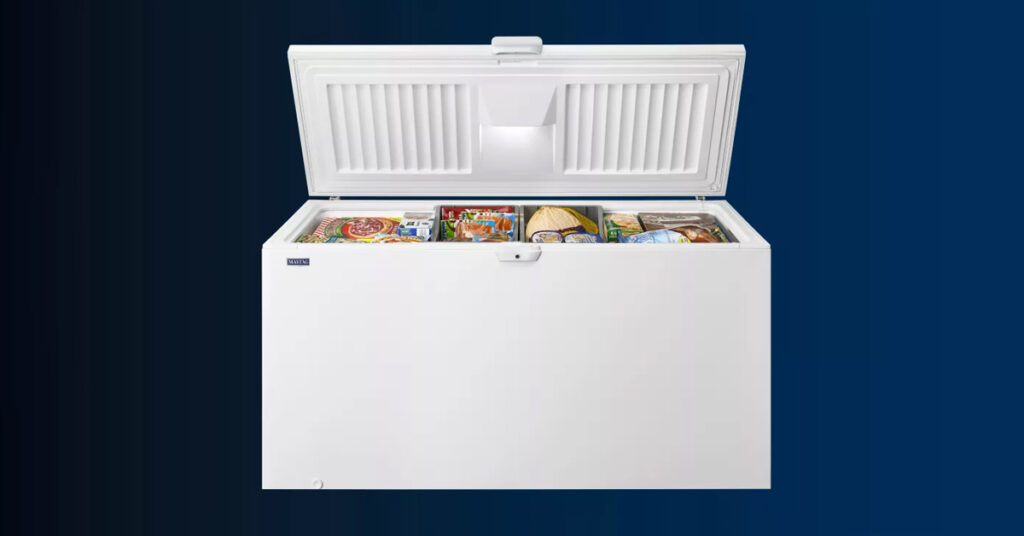
For many, cleaning a freezer involves just taking out all the food and letting it defrost. Although defrosting is an important step, it is not the only one that needs to be taken. Cleaning the appliance is essential to ensuring peak performance and lowering your utility costs while avoiding cross-contamination and unhygienic freezer conditions. Depending on the type and amount of freezer, the whole process will likely take a day, so you’ll need to prepare ahead of time. You’ll start defrosting the deep freezer once you’ve taken everything out of the freezer. It would be best if you cleaned the freezer’s interior and outside once all the ice has melted. Before putting frozen things back in the freezer, you should let the freezer run for around six hours.

Cleaning deep freezer is not such a complicated task. Your freezer can last for many years with minimum maintenance and yearly cleanings. Many of us don’t spend much time considering how to clean a freezer or how frequently we should do it. Mildew can develop in freezers, and many germs can survive in temperatures considerably lower than those in your freezer. If you don’t regularly clean your freezer, mildew and germs can degrade food, generate odors, and even make you sick if you consume frozen food. But the question is: How to clean a deep freezer? The best approach to cleaning and disinfecting a freezer requires simple actions to combat mildew, smells, and other freezer enemies. You can apply the following five cleaning advice to make this task simpler.
Before cleaning, make sure the location of your freezer prevents any harm to your floors or the appliance from occurring during cleaning. Place old newspapers and towels under your freezer, if necessary.
Step 1: Take Everything Out of Your Freezer, Check It, and Sort It

Take the products out of the freezer. If your freezer is filled with a lot of food, decide what to keep and what to throw out. You should discard any unidentified food in the freezer. Use a marker to write the names and dates on the things you want to retain. Throw away any food that seems weird, smells strange, or if you are unsure. Large ice crystals in the food or a layer of frost on the surface of the meal are additional signs of poor quality and potential contamination that need to be thrown away. To clean a deep freezer, put all of the frozen food that will be retained in plastic storage bins or sizable pots with covers. While cleaning your freezer, you may avoid early thawing by keeping your frozen food together in airtight containers. To make cleanup much simpler after the food is put back into the freezer, you may line those containers with paper and plastic bags. So how long does food stay frozen before it spoils?
- For up to nine months, raw chicken can be safely frozen.
- You can freeze cooked beef, cooked chicken, and raw ground beef for up to four months.
- The shelf life of raw egg whites and yolks is up to a year.
- After a month of freezing, bacon, and sausage should be consumed.
- Most leftovers, soups, and casseroles are safe to keep for up to three months.
- Up to six months for lean fish (cod, haddock, and flounder).
- 1-2 months for fatty fish (tuna, salmon).
Step 2: Defrost Your Freezer

You must defrost the freezer after all of the food has been taken out, inventoried, and put into storage bins. Many contemporary freezers have a defrost option, which is practical and easy to operate despite the slowness of the procedure. You’ll need to unplug your freezer and manually defrost it if you don’t want to wait or if it doesn’t have a defroster. Of course, moving food from your refrigerator to coolers is necessary to defrost a freezer in a fridge/freezer combination by unplugging it. If the appliance’s lid is left open, the defrosting procedure may take several hours. There are two ways to expedite the thawing process if you’re tight on time.
- In the freezer, put a sizable container of hot water. Close the lid and wait for the steam and heat from the freezer to melt the ice within. Depending on the quantity of ice and frost present and the size of your freezer, you might need to replenish the hot water container more than once.
- Utilize an old hair dryer and set the heat to low. Direct the heated air to your appliance’s inside walls. To reduce the chance of an electrical shock, avoid letting the dryer come into touch with the melting water.
Step 3: Cleaning and Sanitizing the Freezer
How to clean a smelly deep freezer? Unplug the drain or drainage tube on your freezer once all the ice and frost have melted away. Allow the water to drain completely. For deep clean freezer, use a light cleaner like dish detergent, or go green and use some baking soda or vinegar. Add warm water to a bowl that contains a tiny amount of baking soda, vinegar, or detergent. Wash down the interior of your freezer using a towel or cloth dipped in the cleaning solution. Remove any shelves or baskets and wash them in the sink to get rid of any spilled materials and strenuous stains. Rinse the interior of the appliance to get rid of any leftover debris. Dry the freezer with a cotton cloth or let it air dry. Also, Place a box of baking soda inside the freezer and shut the door for several hours to get rid of any remaining freezer odors. Put a small bowl of activated charcoal inside the freezer to absorb pungent odors. Allow the appliance to run for two to four hours with the lid closed. Always store an open box of baking soda in your freezer alongside your food to stop odors from developing in the future. Every three months, swap out your box of baking soda.
Step 4: Replacing and Restructuring
Restock the freezer with all of your frozen goods at this time. As you replenish foods in your freezer, organize them to prevent items from being mixed up and forgotten. Foods with a long shelf life in the freezer should be stored toward the bottom. Keep your meats organized and in one spot on the bottom. Put the other kinds of food in a different location. The most frequently used food should be placed in compact bags on top of the other frozen foods. When your freezer is fully stocked, it could feel a little crowded, but by carefully arranging the contents to fit, you can make the most of the available space. Take the food inventory list you created throughout the inventory process, and use tape or a magnet to secure it to the top of your freezer. Keep a pen or pencil available so that each time you walk inside your freezer, you can add to and delete items from there. Although there isn’t a single quick approach to cleaning a deep freezer, cleaning your appliance two to three times a year will make the task much simpler.

 Dryers
 Ironing / Garment Care